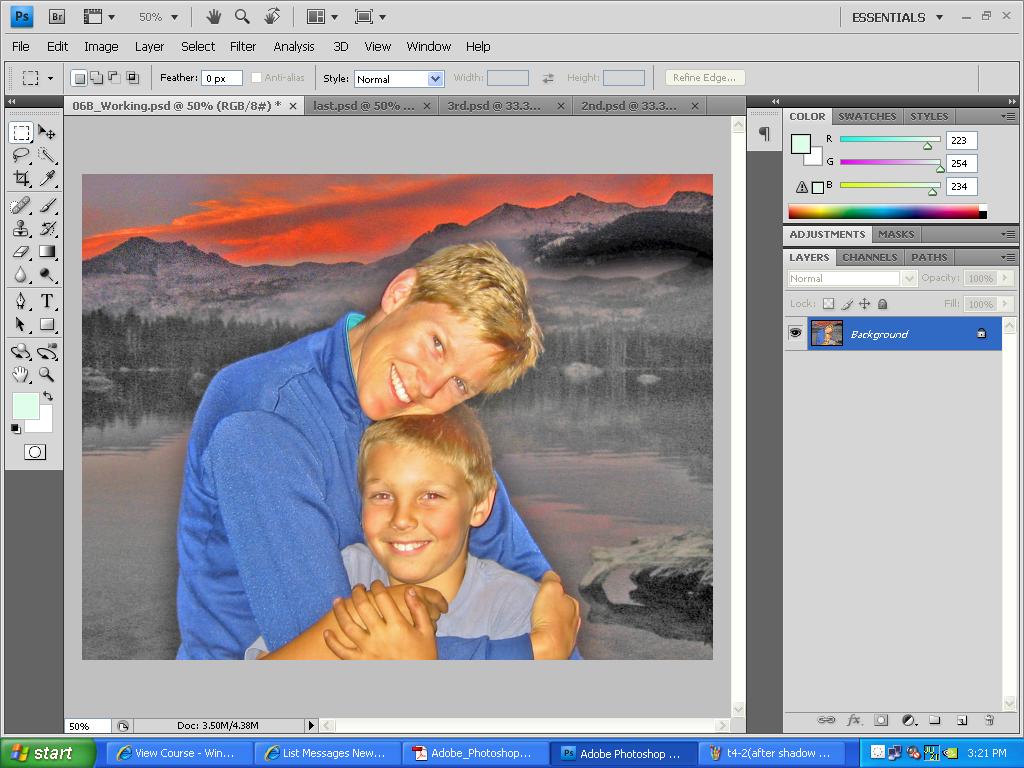
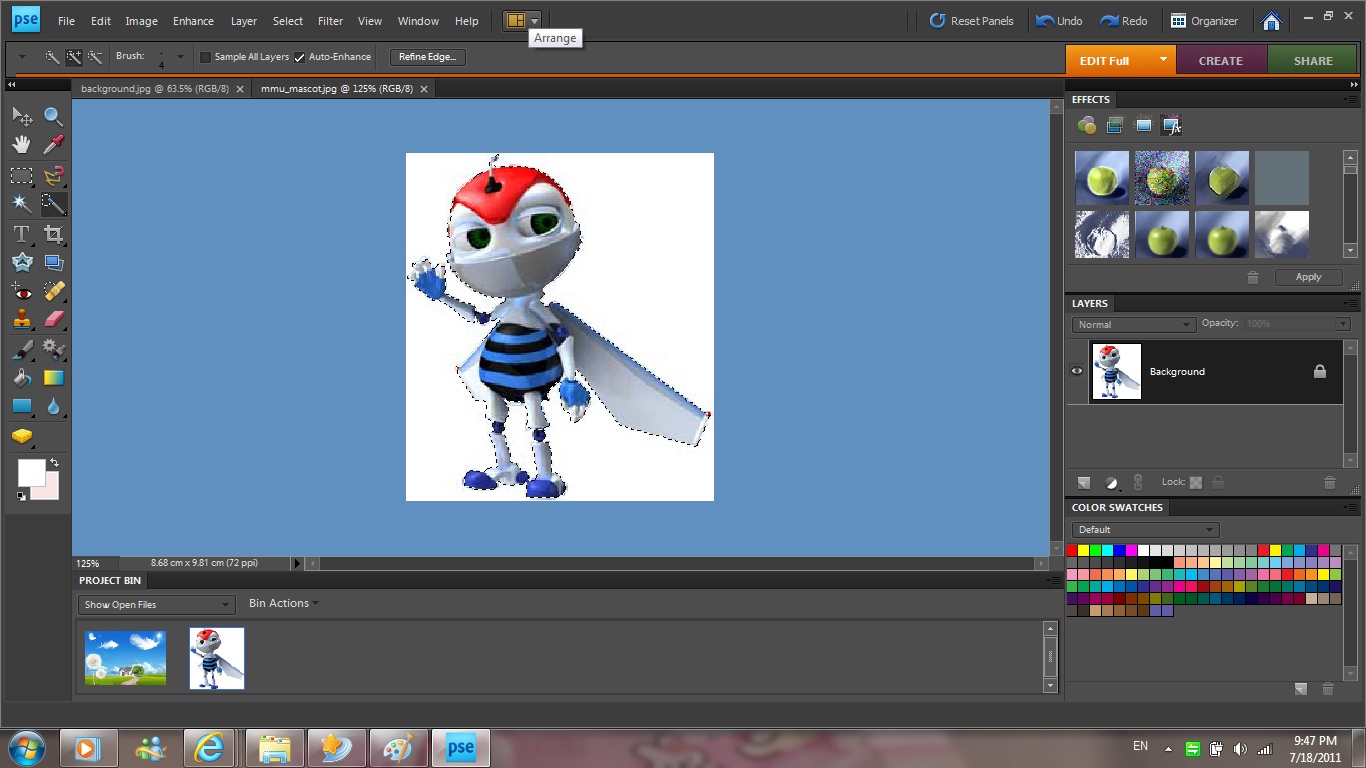
This is the 1st original picture.
Select in the Shadows/Highlights dialog box, choose Show More Options to expand the
dialog box. Then, choose the following:
• In the Shadows area, set Amount to 80% and Tonal Width to 65%.
• In the Highlights area, set Amount to 5%.
• In the Adjustments area, drag the Color Correction slider to +45.
After that,correct red eye. Select the Red Eye tool hidden under the Spot Healing Brush tool. Change Darken Amount to 10%. Click on the red area in the boy’s left eye. The red reflection will disappears.
Click on the red area in the boy’s right eye to remove that reflection.
BEFORE....
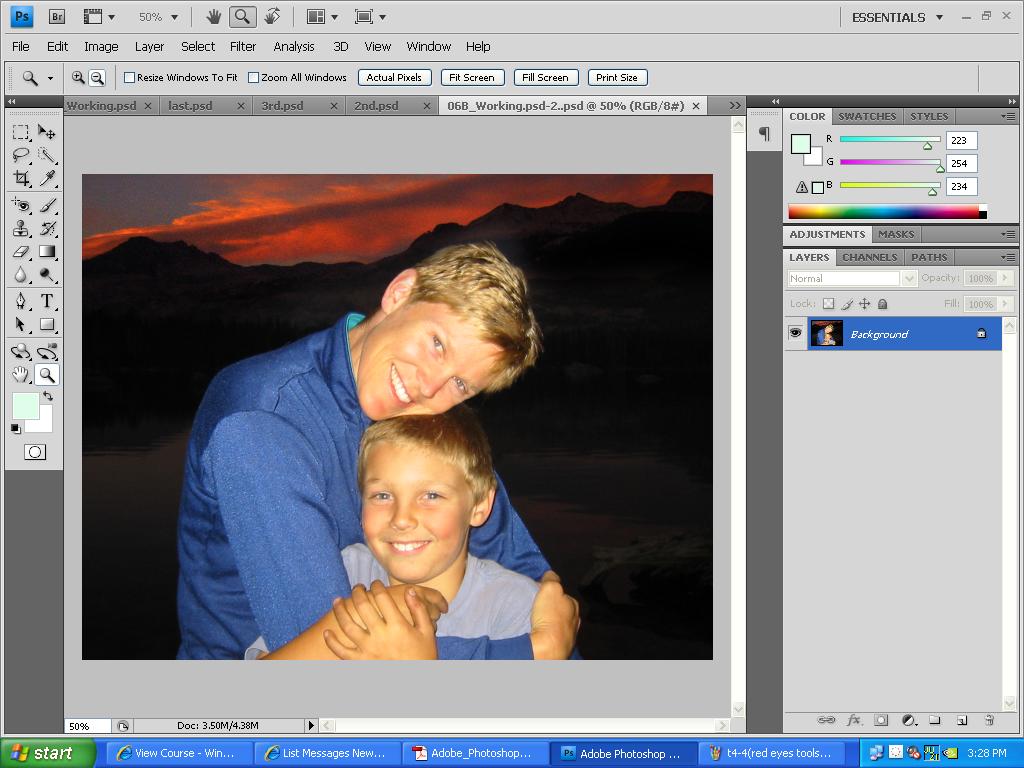
AFTER...
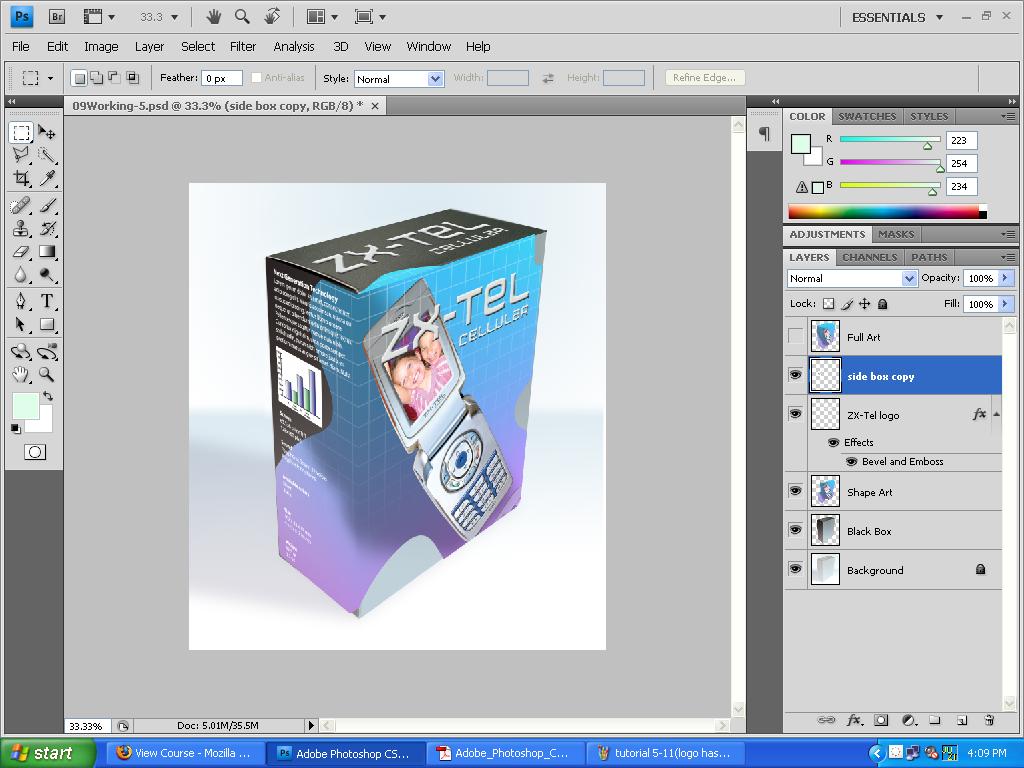
Choose Filter > Noise > Reduce Noise. In the Reduce Noise dialog box, do the following:
• Increase Strength to 8.
• Decrease Preserve Details to 45%.
• Increase Reduce Color Noise to 50%.
• Move Sharpen Details to 35%.
BEFORE...
AFTER...
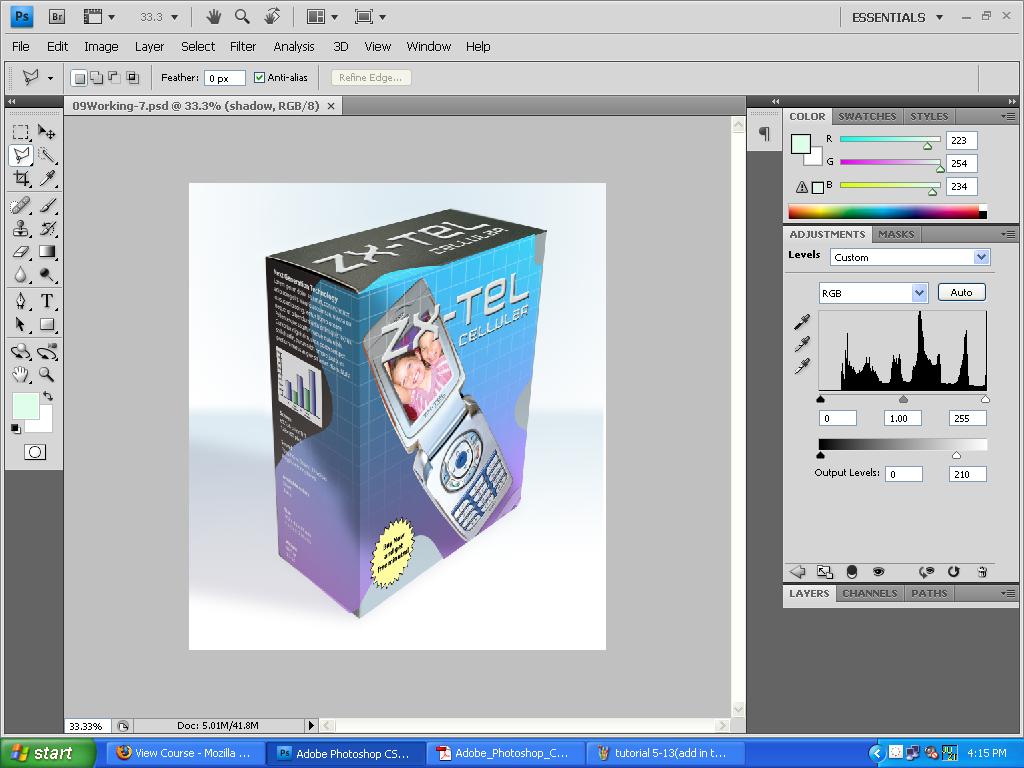
Choose Filter > Sharpen > Smart Sharpen. In the Smart Sharpen dialog box, do the following:
• Reduce the Amount to 40%.
• Set the Radius to 5 pixels.
• Choose Lens Blur from the Remove menu.
• At the bottom of the dialog box, select More Accurate.
Done.
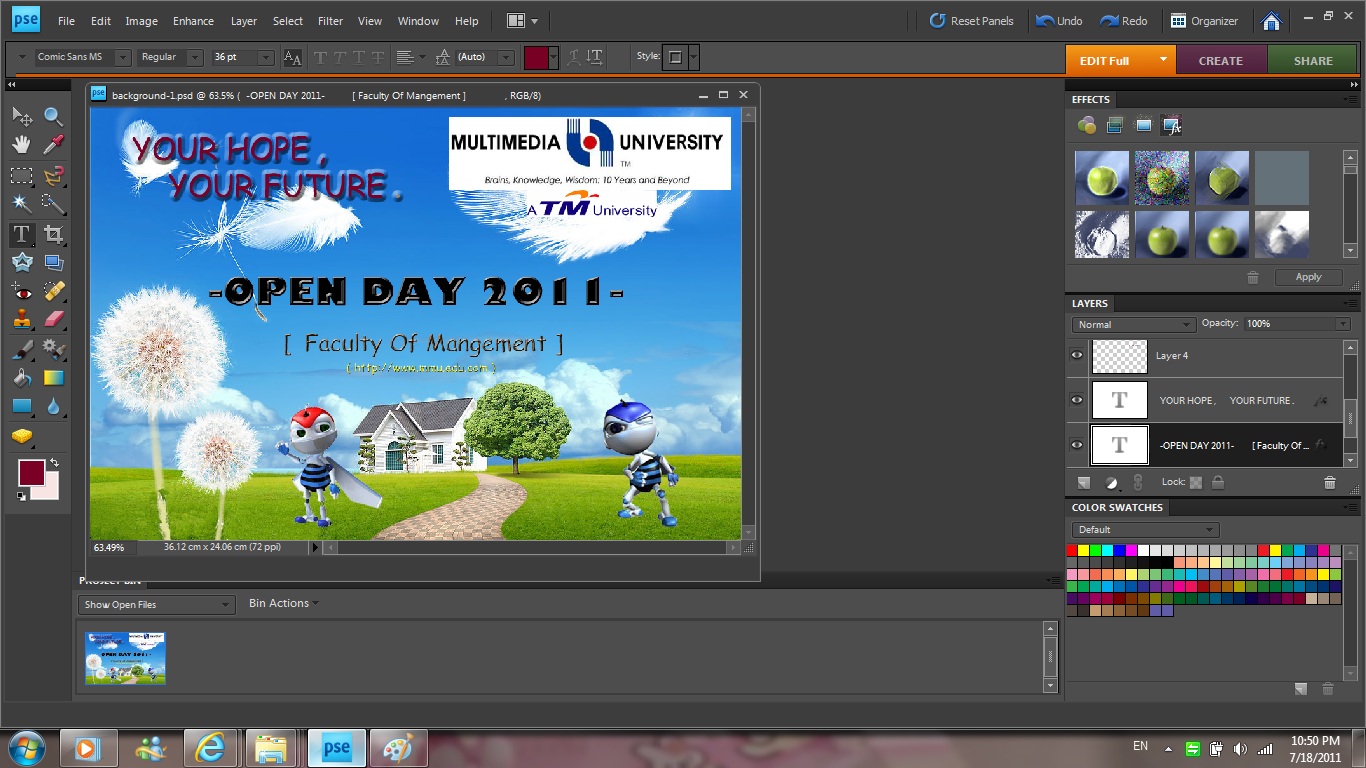
This is the 2nd original picture...
1.Choose Filter > Vanishing Point.
2.Using the Create Plane tool click each of the four corner points of the main wall of the house.
3Select the Marquee tool from the Tools panel in the Vanishing Point dialog box. The detailed grid disappears and the plane is outlined in blue.
4.Drag a selection marquee a little larger than the center window. Then drag the copy to the right.
5.Select the Marquee tool and drag to select the empty wall between the first
two windows. Then drag the selection
between the second and third windows, over the wreath.
Done.
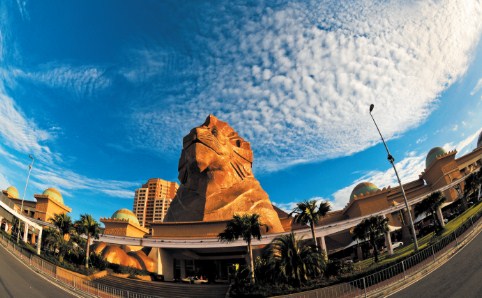
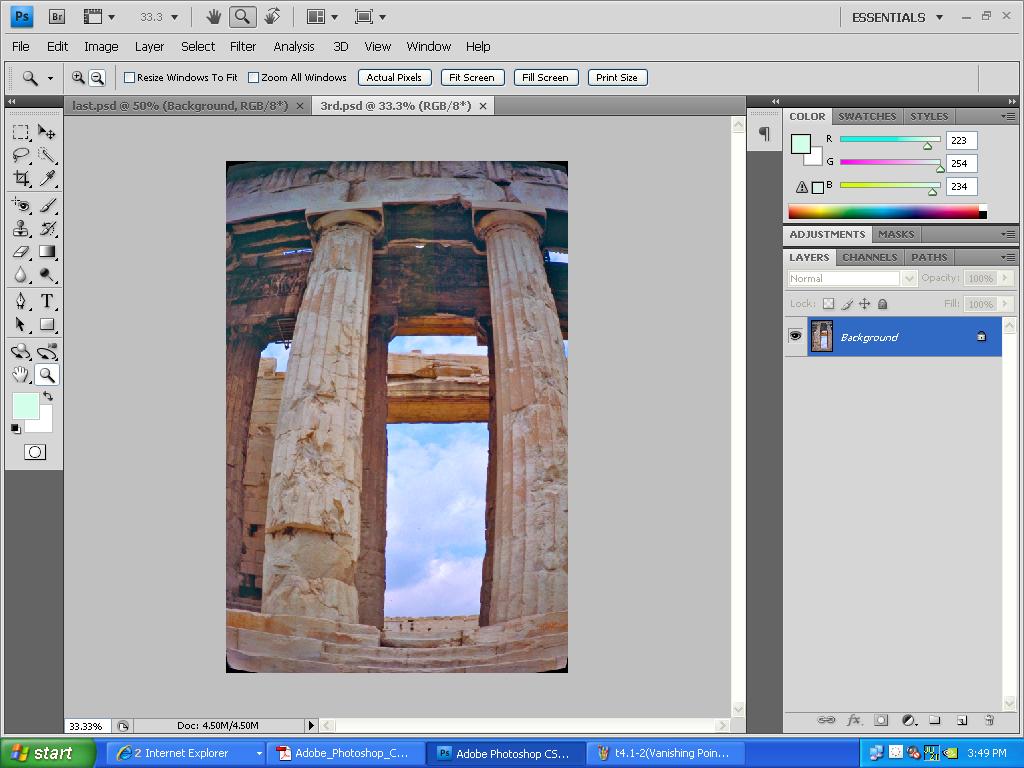
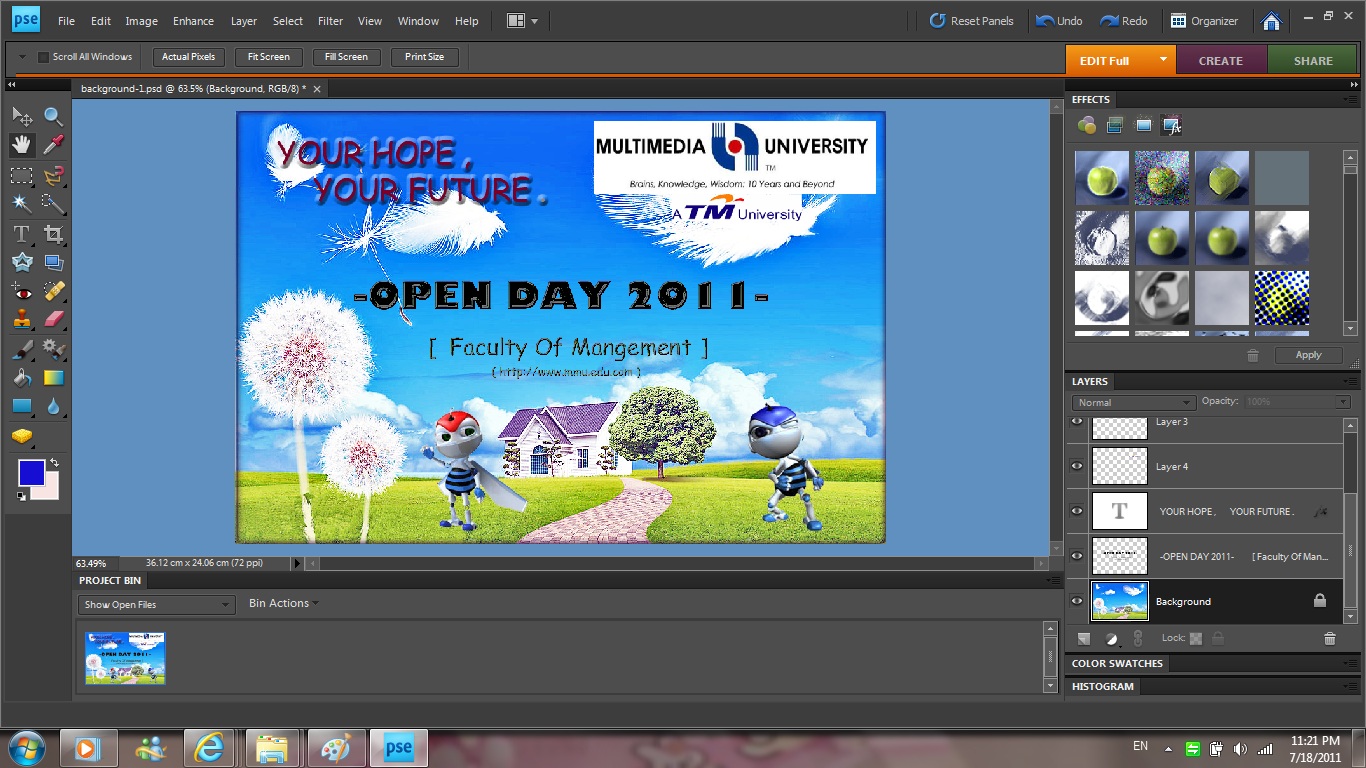
This is the 3rd original picture.
Choose Filter > Distort > Lens Correction.
Adjust around the remove distortion and scale to correct the image distortion.
Done.
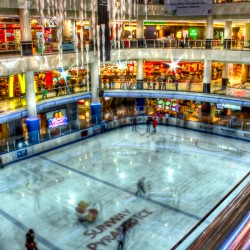
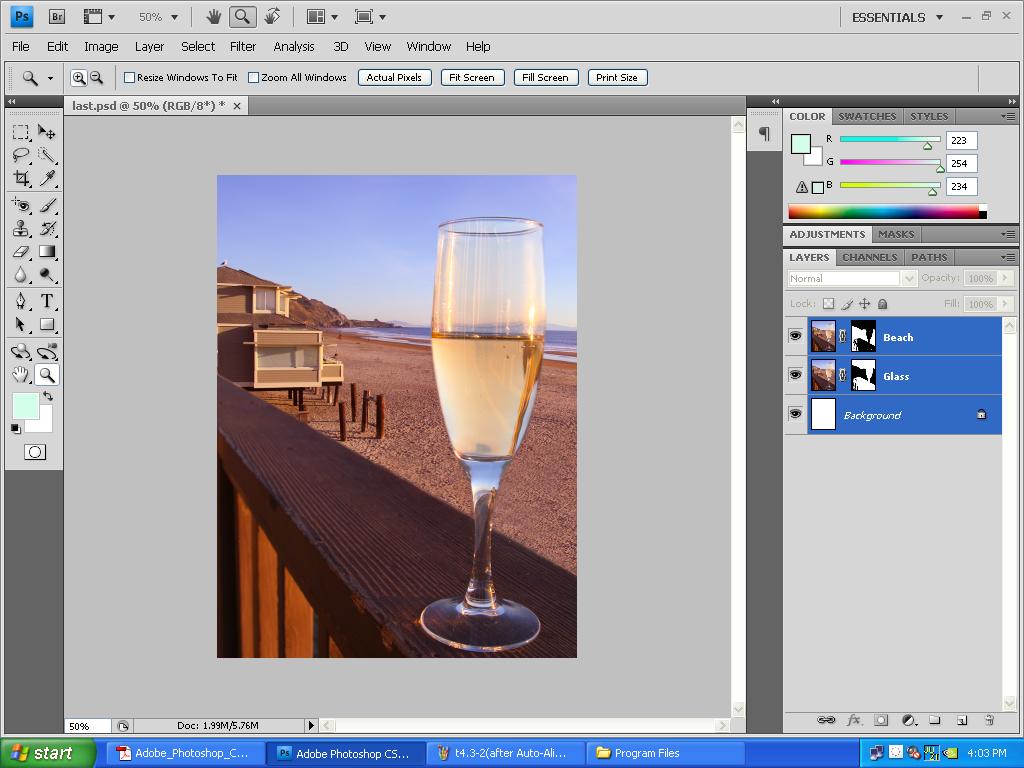
4th original picture.
Choose Edit > Auto-Align Layers.
Choose Edit >Auto-Blend Layers.
Done.
-THE END-